Penny Pincher’s Slug Solution Myth Busted?

Heard of a solution to our slug problem:  surround your prized plants with a circle of pennies to keep the slugs away.  For pennies you can keep those slimy suckers at bay!  Worth a try.  The thought is that slugs get a “shock” when they touch the copper and dislike it so they find greener pastures.  The result?

Slug basking on pennies

Corporate slug?

Maybe wheat pennies will work better. Maybe a trip to the local “Rent-a-Duck”?  Maybe some well placed slug pellets!


Tagged with:

Sweet Tomatoes

You can sweeten your tomatoes on the vine by using a little less than 1/4 cup of baking soda and sprinkling it around your tomato plant.

  1. Test your soil first – if it’s already alkaline (a pH above 7.0), this could harm your plant.
  2. Test on one plant first – give the test plant about two weeks and note any differences.  If it’s doing well, proceed to do this to the rest of the plants
  3. a little less than 1/4 cup about 2″ away from the stem when you’ve transplanted the plant
  4. once again when the plant is about 1/2 grown

This neutralizes the acids in the soil, bringing the pH  higher.  This also works when you’re canning the tomatoes, sweetening the tomatoes without adding extra calories (use 1 tsp per 20 tomatoes).  Too much baking soda will alter the flavor.  Also, skim any foam that rises to the top.

Open Source Seed Initiative

What’s better than an unbirthday? An unpatent!  The Open Source Seed Initiative breeds varieties of vegetables that are unpatentable – open source, free from litigation. A hack? Yes – on a long-range scale.  There was a time when patenting seeds was a good thing: plant breeders weren’t able to profit from their hard work until they were able to patent their varieties.  Now that we’re in the 21st century, it’s time for the pendulum to swing back for the home and small-scale gardeners and farmers so they may make a living and create new varieties. This is especially important with the climate so unpredictable.

Many partners have joined in the OSS, including High Mowing Seeds, Oiko’s Tree Crops, and many others.  You can click on the links on the page to go to their site.

OSS Partners

The 27 Minute Gardener is Available in Hard Copy

Cover - The 27 Minute GardenerThe 27 Minute Gardener, available on Kindle, is now available in hard cover via CreateSpace (https://www.createspace.com/6187698). Available soon from Amazon.com as well. You can follow my daily blogs as I follow the book, gardening in only 27 minutes per day. Written for a couple of reasons, the book shows you step by step how you can create a bountiful garden in less than 1/2 hour per day – a sliver of time in your busy day.

Keyhole Gardening Hack

Great for arid climates, this keyhole gardening article sums it up nicely.  Don’t know if it would work in the sopping wet northeast, but I love the idea! Looking at the side-view cutout it reminds me of a hugelkultur bed where you bury logs covered by the branches covered by the leaves covered by garden soil.  The compost basket in the center would speed the decay of the materials at the bottom, bringing both moisture and nutrients to the sub-soil biology.  Oh, and let the birds do their business right into the bin as well.

http://www.texascooppower.com/texas-stories/nature-outdoors/keyhole-gardening

Garden Map Hack

There are many ways to mark what’s supposed to be growing where in your garden. They often become faded, knocked over or hidden by your vegetables. The best solution is to create a map of your garden.  A simple sketch to a spreadsheet, you’ll find they come in very handy when you’re in the thick of it.  What were you going to plant next?  Did I plant this in the same spot last year?  What should I grow here next?

There are a lot of online gardening maps available, from gardener’s supply‘s free site to paid for sites like the one on Almanac.com and others. They can all help you plan, especially on raw windy days.

The Hack:

Create your own map to print out and modify as you need. You can do this in a spreadsheet program such as Excel, or you can create one on google sheets.  The important information includes the plant family, start date, specific name, days to maturity, and when your harvest date is.  I also include what I’m planting next since I do succession gardening (plant, harvest, plant again in the same location).

Even easier: here’s a link to a google sheet already created.  Simply save to your google drive and adjust as necessary.  There are two sheets: the first is an example 3×3 garden, the second is a list of plant families for crop rotation. If you don’t grow one of the families, skip to the next one.  The harvest date appears automatically (so don’t worry – you don’t have to wait until Dec. 30 to harvest!). Here’s the link:

Garden Planner on Google Sheets

There is also an excel spreadsheet available here:

Garden Planner (via 27 Minute Gardener)

Grocery Bag Weed Block Hack

Paper grocery bag with the bottom cut off and cut down the seam
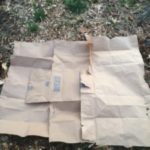
Back to blogging, though mostly on the “27minutegardener.com” site – I’ll be putting quick and easy hacks here that I’ve used or find interesting.  This is one of the easiest (and free) hacks for supressing weeds.

  1. Cut the bottom off of a paper grocery bag
  2. Split the bag at the seam
  3. Cut it in half lengthwise
  4. Fold accordion style so you have 2″ panels
  5. grocery bag folded accordion style
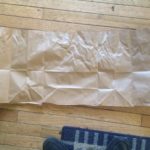
Cut a half a hole on the folded edge in the center
  6. You now have approximately six holes in a strip of thick paper to plant your plants!

You can fold it with wider or narrower panels to make the holes closer or further apart, cut two holes on one side and one on the other to create a staggered planting pattern, or just lay the strips down on either side of a row to keep the weeds down.hole cut along folded edge and paper unfolded


paper laid on soil with soil and coffee filters along one edge


Quick, Weedless Garden Path (Recyclable!)


Old path to be rejuvinated

Raked path with weeds already growing

Paths are necessary to get to your vegetables. Some gardeners plant in rows leaving the paths as grass and mowing it. Others will create paths laying down sand, weed blocking cloth, then brick or stone.  Which way is the best way? It really depends on how permanent your garden is, and how much time you want to spend on the paths versus your garden.

Path-Cover-2

Paper bags, split and laid down overlapping the edges.

So why make paths at all?  The path should “make itself” – the well trodden area finally succumbing to the compressed earth. That would be okay, except for the weeds.  The weeds will grow any place they can.  Even the tightest laid brick walks will have little spots of green where a seed has slipped in between or a root has reached through enough of a crack underneath to sprout and grow.  Blacktop?  Aside from being extreme, anyone who has a blacktop driveway knows the same thing happens there, too – and who wants the smell (and the chemicals) in their garden?

Path-Cover-3

Wood chips raked back over. Good night weeds!

One simple solution is to lay down a biodegradable weed block, then cover it with wood chips or other compostable material. As stated above, weeds will find a way, so why not make it easier for yourself, minimize the time you spend and actually get a reward at the end of the season?

  1. Level your paths if they aren’t already, and remove any larger clumps of grass that have already started
  2. Using 5-10 thicknesses of newspaper per  or one grocery bag soaked and split apart, cover the area, overlapping the edges
  3. Lay wood chips, mulch hay, freshly cut grass, etc. on top, enough to weigh down the paper so it won’t blow away in a high wind.
  4. Add more wood chips, etc. to bare spots as necessary.
  5. At the end of the season, rake up what’s left and add it to your compost pile as a “brown” or carbon source, laying down new paper/chips/mulch hay at season’s end to get a jump on next season.


Don’t Be a Seed Scrooge!

Okay, I admit it, I’m a seed miser when it comes to my packets.  I just looked in my collection and found several of them mostly untouched dating back to 2011.  Some may germinate, but I’m not betting the garden salad on them.  Better planning for succession planting, planting most if not all the seeds in the packets and giving them away, trading the unused seeds with neighbors in the same year I bought them are all better use than where they are now.

The lettuces from years gone by are going into the indoor containers regardless, I’ll be planting them on the same day I plant my first batch (I plant greens biweekly), so if nothing shows up then I replant with this year’s seeds, and plant liberally.  Same will go for the tomatoes, the beans, the snow peas, etc.  All my favorites from years past will be put out. If they germinate – great! If not, their pots or plots will be replanted.  Helps get rid of the clutter, too.

Is It Time To Garden Yet?

Icy stream

Icy stream
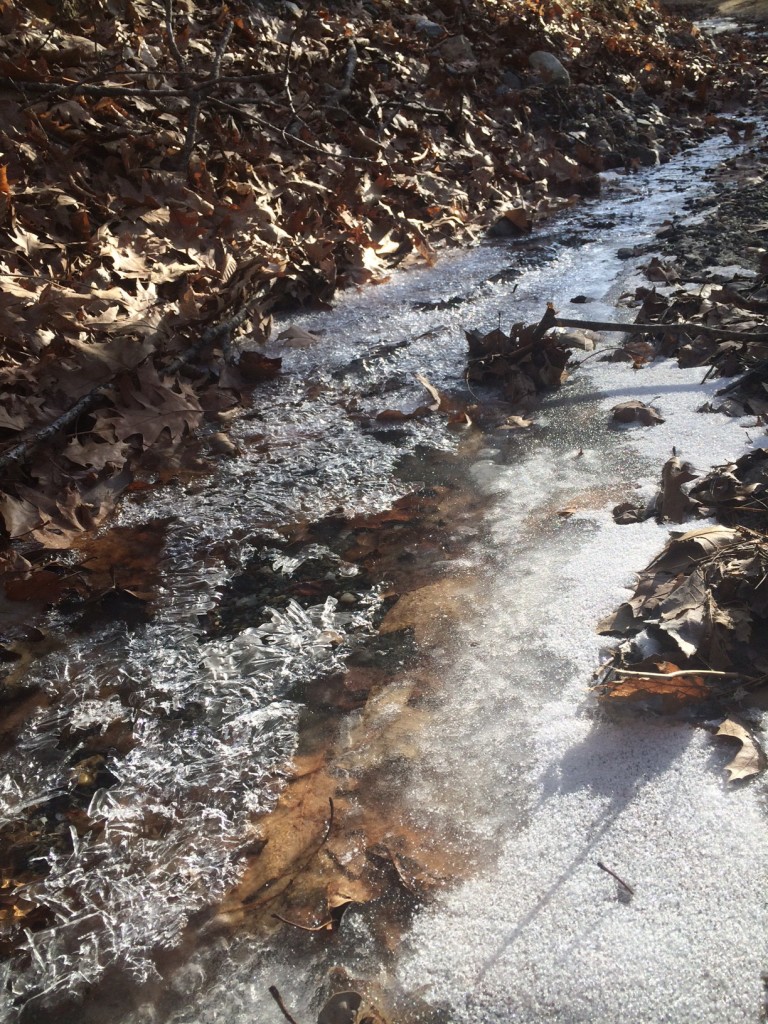
Is it time to garden yet?  The outside says no, but the calendar says now. Not outdoors – I tried – the shovel won’t break through the mulch unless I use a blowtorch, but I won’t go to those extremes.  Indoors, the sun is reaching one of our only southern facing windows and it’s waking me up sooner in the mornings.  Ah, Zone 5b.  March 6 marks 13 weeks before the last frost. Certainly not close enough to start tomatoes, close to the time if I decide to try my hand at Hubbard squash, definitely time for onions…

A quick win to chase away the winter blues is lettuce and greens.  Lettuce doesn’t need warm soil (from 40° F to 80° F – 4.4° to 27° C), can be grown under grow lights, the roots for “cut and come again” varieties allow for shallower planting medium, and – it’s green and growing!

Styro shipping containers used by specialty food mailers work well indoors as long as you make an overfill hole in the side, and you can “cheat” a bit by putting inverted yogurt cups or taller drink cups in the bottom before you fill it with soil.  This will make a reservoir in the bottom for extra water, the soil that goes between them will allow for the water to wick up to 10″ (25cm), so once the roots start reaching down they’ll have enough to grow. Until then  a gentle top watering will allow for germination.  After the first true leaves appear a 1/2 strength solution of organic fertilizer will help them along, and tide me over until the shovel doesn’t hit frost outside.

Tagged with: , ,
Top